DIY Rose Water Recipe
7 step procedure
👉🏾 Select roses and Clean Petals
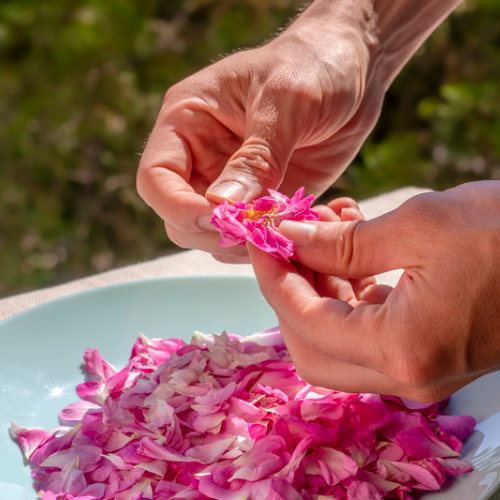
Choose fresh roses according to the quantity of making rose water, take out the petals and clean them twice to remove existing dirt or debris from the petals to prepare clean rose water for skin.
👉🏾 Simmer Rose Petals

Allow the rose petals to simmer in a boiling water for 20-30mins in low flame, make sure to be there at stove while doing this step and adjust flame accordingly. Wait and let the rose petals loose the color completely.
👉🏾 Add them in boiling water
Once the cleaning process completed, place the cleaned rose petals in a pot of boiling water. Make sure you’re using clean hygienic water for preparation of rose water. If you use normal tap water, then it may not be suitable for every skin type.
👉🏾 Let the mixture cool
Remove the boiled pot from the stove and let the mixture cool first, it usually takes 10-15 mins for the mixture to cool completely.
👉🏾 Transfer to Airtight Container

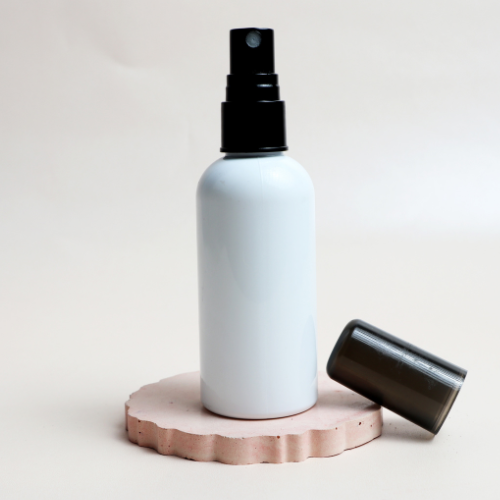
Take the rose water and transfer it to any container which you feel comfortable to use and never forget to clean the container properly before transferring rose water into it.
👉🏾 Separate Rose Water from Petals
After cooling, separate the rose water and petals, take infuser to separate them instead of using hands. Make sure you were following proper hygiene while making this to avoid any issues causing on skin.
👉🏾 Store in the Refrigerator
Storing Homemade rose water in refrigerator will keep it away from bacteria and other impurities.
Benefits of using DIY Rose Water
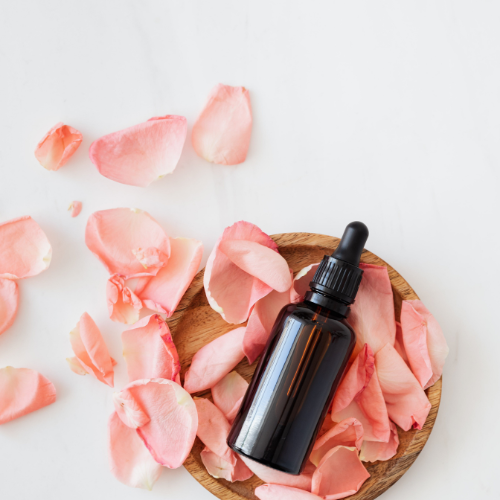
Natural Homemade rose water is something which is very pure and good for skin. This rose water actually does not contain any type of chemicals or preservatives, it includes only fresh rose petals and its natural purifying extracts. DIY rose water is more beneficial to dry and combination skin type.
- Boost your bath routine: Add few drops of this rose water to your daily bathing routine
- Glow with rose essence: Wash your face with your regular cleanser and just spray this pure essence on your skin and let your skin glow
- DIY Face Packs: This rose water can also be used in natural DIY face pack remedies
- Makeup Remover: This rose water can also act as a makeup remover
- Best toner: It can be act as the best toner for your skin
Things to Remember

✨ Doing Patch test
Natural ingredients won’t effectively work for everyone, they may also creates allergic reactions when they are not properly suited for skin. So, doing patch test before using home made rose water was good on skin to avoid future skin issues.
✨ Make it again after 12-14 days
Even though we store home made rose water in refrigerator, it could be only fresh for 2 weeks. When we are using something on skin, we should be more careful, so avoid this water after 2 weeks and make it again.
✨ Avoid if it was not suited for your skin
Don’t use this rose water if you observe any thing unlikely on your skin. If the rose water made in the home was not suitable to your skin then your skin starts developing Acne, roughness and bumps on the skin.
✨ Slowly incorporate into your skincare routine
When ever we were using something new to our skin, start it by slowly by using twice or thrice a week in order to adjust into skincare routine.
This rose water recipe is perfect for DIY enthusiasts who prefer natural products. In the present skincare market, there has been n number of rose water products manufacturing with the name of different brands. Despite the numerous branded rose water products available, this recipe caters to those who prioritize using chemical-free and natural ingredients on their skin.

- Preparing rose water in home must be hygienic
- While doing this procedure keep all the containers and pots cleaned to avoid bacteria formation and make sure that you’re hands were properly cleaned.
- There has been different home made rose water recipes shared in across the internet, they may also add vitamin e capsules or any natural fragrances to it, everyone has there own way of making it but follow the best and simple one for your skin, based on the availability in ingredients.
check here to find ➡️ Hydrated drinks you need in this Winters
